Tuesday, 3 September 2013

An Oliver + S weekend

I expected all of last weekend to be taken up with a work activity. It didn't eventuate, so I spent the weekend in my sewing room with my Oliver + S patterns instead.

The first item I made was the book report dress.  I wanted to make it all in one colour and I made a few little alterations to the pattern based on this t-shirt from Daks that I bought at Christmas time


Note the zipper and the quilted shoulders and sleeves

So I borrowed those ideas and incorporated them into my dress:

Size 4


I quilted the fabric onto a fusible batting first before cutting out the back yoke.  It was surprisingly quick to do and produced the result I was after.


It really isn't that wrinkled in real life!


I inserted invisible zippers at the front and back yoke shoulder seam.  They are not perfect but I think they will look OK once the  dress is on.   Perhaps next time I will make the zipper more of a feature like the Daks's t-shirt

The only other modification I made was to use the "burrito method" to enclose the stitching for the  back yoke and its facing just like on a man's business shirt.  The batting added quite a bit of bulk which made this a little bit more of a fiddle than it might have been but it turned out looking very tidy on the inside.


And to finish off, I found a little sparkly button in my button box that matched the dress colour perfectly.

Although the photo is out of focus


On Sunday, I made a skirt using the rather appropriately named Sunday brunch a-line skirt pattern - although it would have been a very late meal if it had been needed at the time suggested by the pattern!  

I cut up an old Anna S dress that I bought for about $5 at a school fair several years ago and tried to recreate something a little like this skirt that I snapped in Tokyo last year.... while trying to not look like I was stalking the child
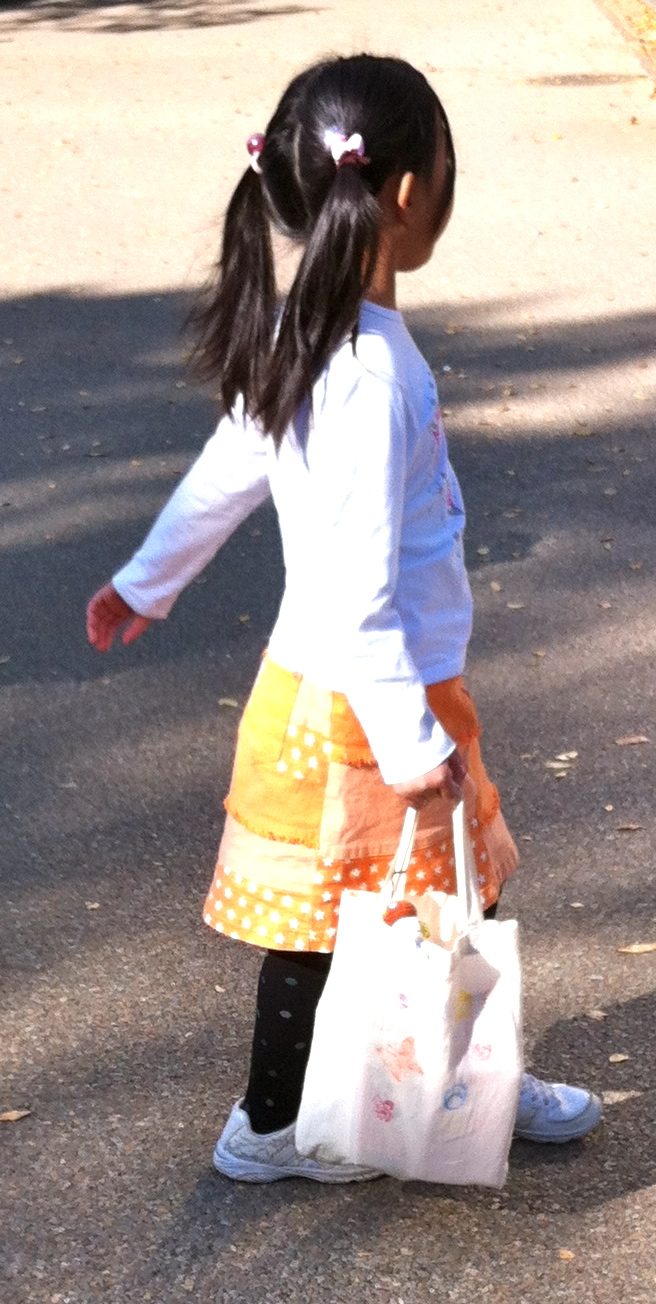
this skirt
plus


equals


Ok, so this looks nothing like the little girl's skirt but you gotta work with what you've got!


And then in the second half of the day I whipped up a roller skate tunic from a Nano Iro print, and some Japanese lawn from Spotlight


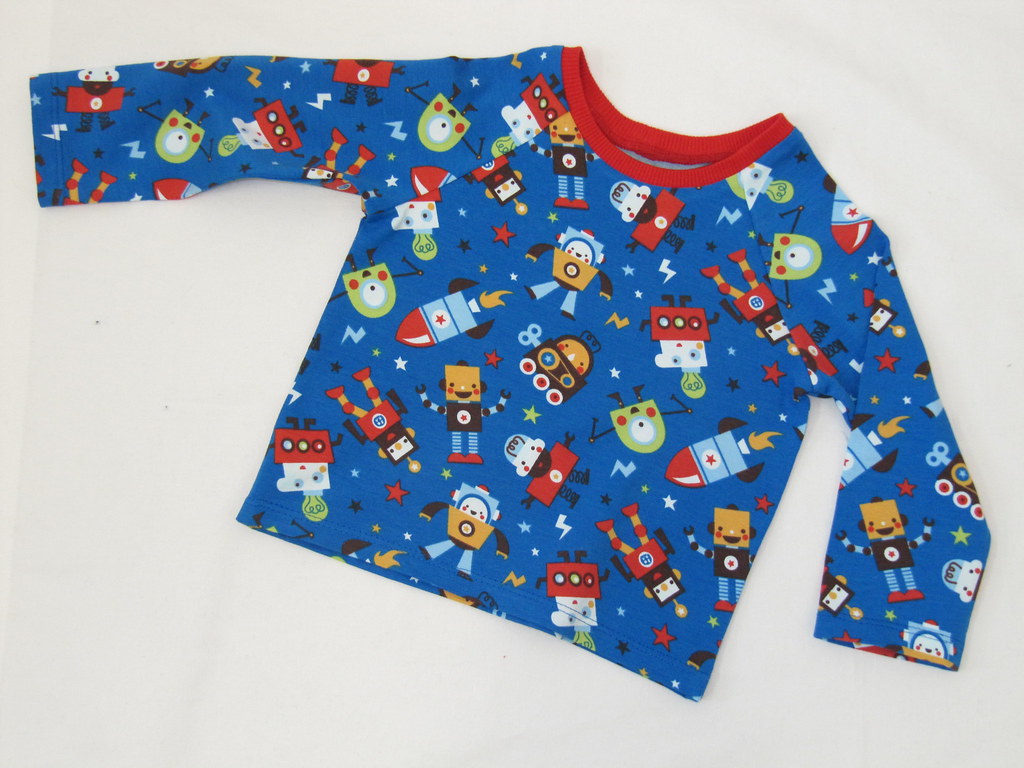
And I bundled these up to send to Rosa with yet another Sailboat top I recently completed.  I think I have probably had the knit fabric for at least ten years!  So, another successful stash bust here and therefore time to buy more fabric....


And look!  I managed to get the shoulder pieces overlapped the correct way again


Now, that was a much better way to spend a weekend than doing paper work....


Wednesday, 28 August 2013

Family reunion with Alice

Recently, while looking through the Spoonflower Flickr group I spied a beautiful dress made up in this fabric

AliceToile-white background 

 I had to have some!  But for some reason I only ordered one yard.  Was I mad?!? At first, I wasn't sure how I could make the most of such a teeny, tiny piece of fabric but in the end I decided I would use the Oliver + S family reunion dress pattern to make a little top


size 4


It took quite a while to cut out the fabric and even then I goofed the back pieces. I should have cut the fabric so that the pattern at the centre back overlapped but I didn't think of it until I had finishing cutting out. Then there really wasn't enough fabric to cut out another back piece.... Oh well...


I made my own covered buttons (11mm) and added a thin blue piping around the neckline.  I fussy cut the neck piece so that there were no "off with their heads" moments


And I basted the pintucks and then removed the basting thread once the neckline was sewn to leave little pleats.   I like the way these turned out and may do it again the next time I use this pattern.


Overall, I am pleased with this little top and it is close to what I imagined when I saw the fabric....just gotta get that back pattern matching sorted!!


I have used this pattern before:


a liberty print in size 12-18 months


A Michael Miller print, Children at play, in size 4


...and I wasn't clever enough to match the pattern at the back on this one either....

Tuesday, 13 August 2013

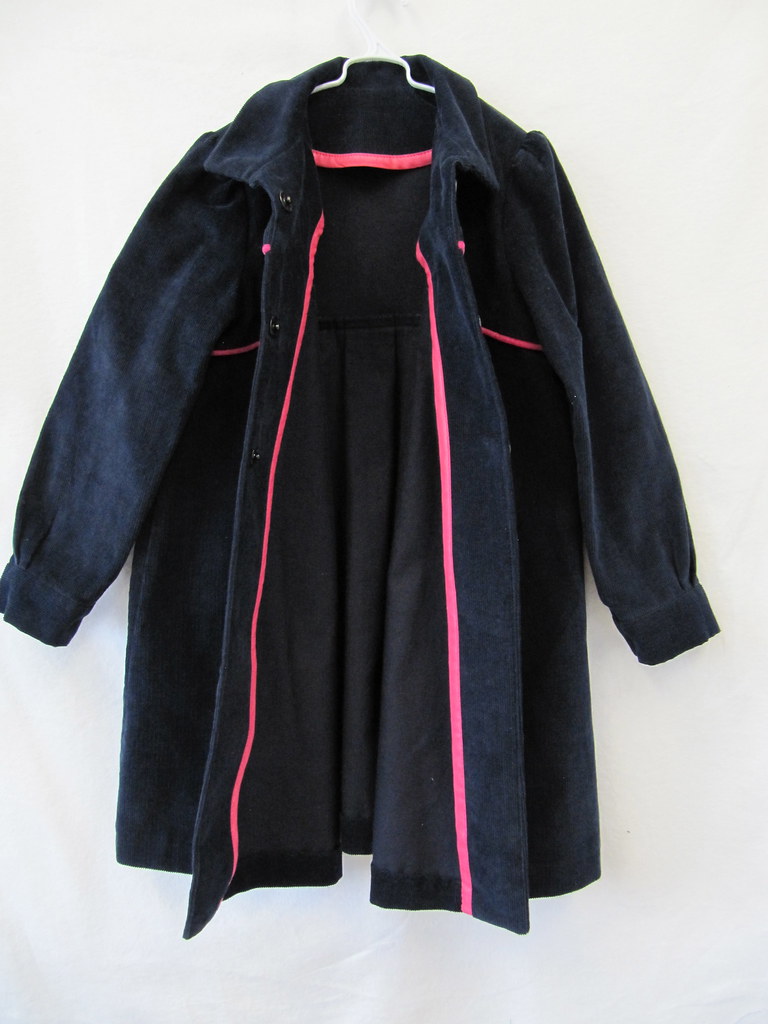
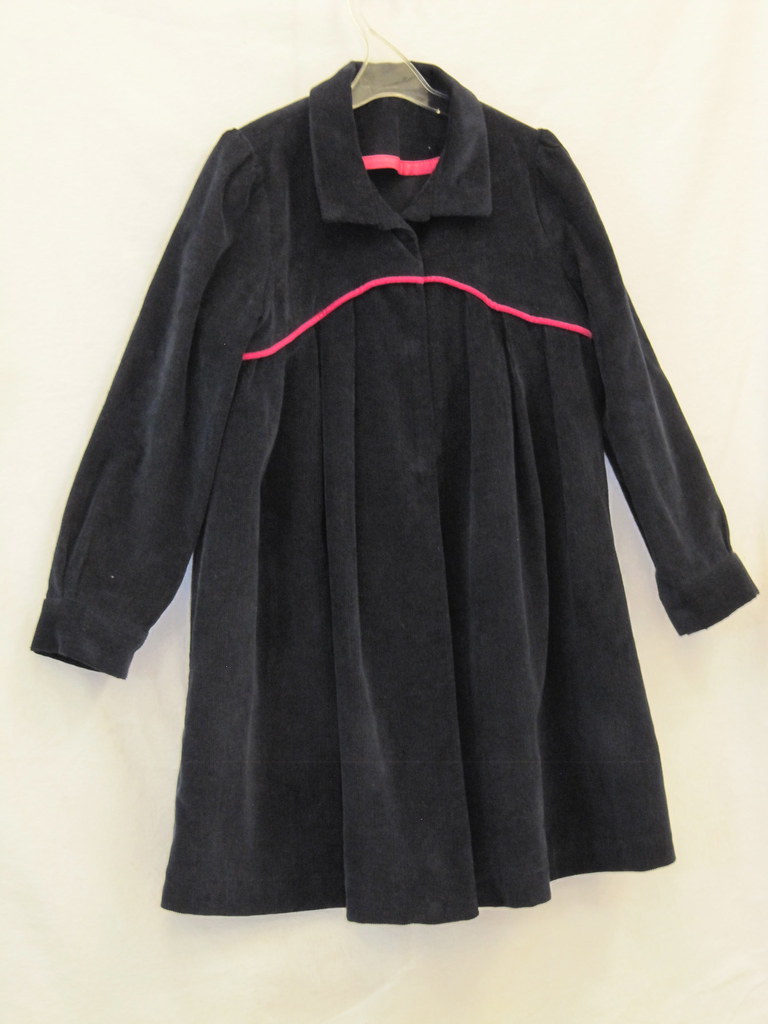
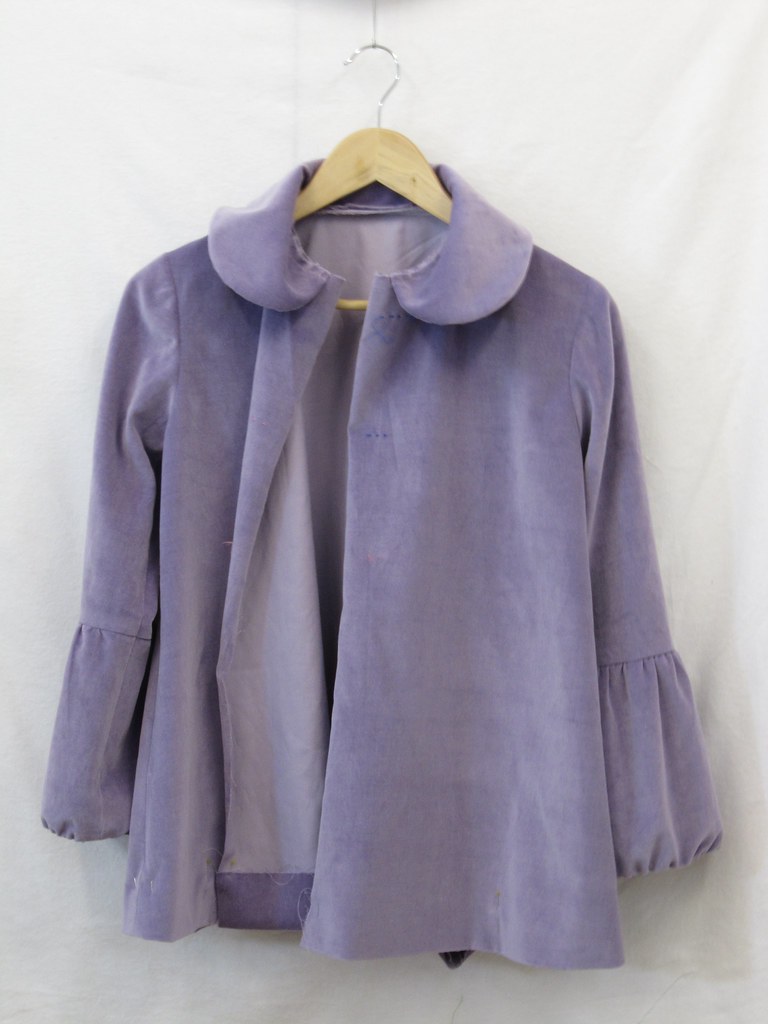
The blue corduroy coat

Lincraft was having a sale and it would have been wrong not to go in, fondle the fabric, and take some home with me.  The navy corduroy reminded me of a coat pattern in Australian Smocking and Embroidery from 1994 that I have always liked

photo

I didn't want to do any smocking (because I knew if I did, this coat would have ended up with the two smocked dresses I haven't yet finished - the first started in 2000 and the other, more recently, in 2007) so I hunted the pattern collection.

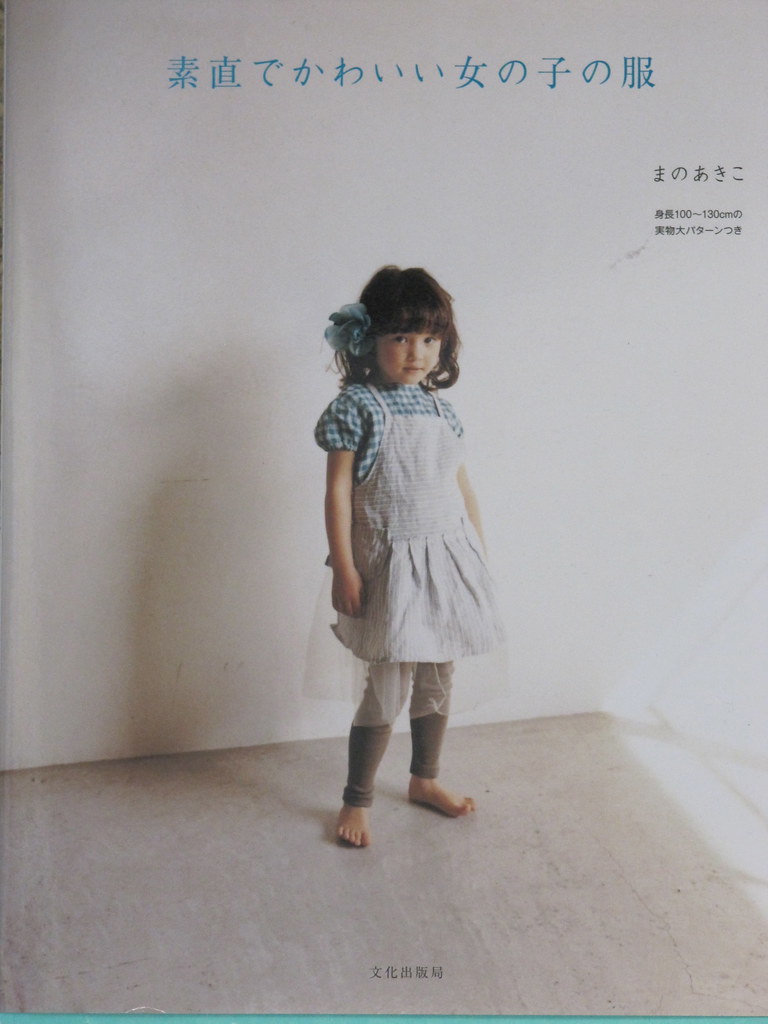
In this Japanese pattern book 

IMG_4789


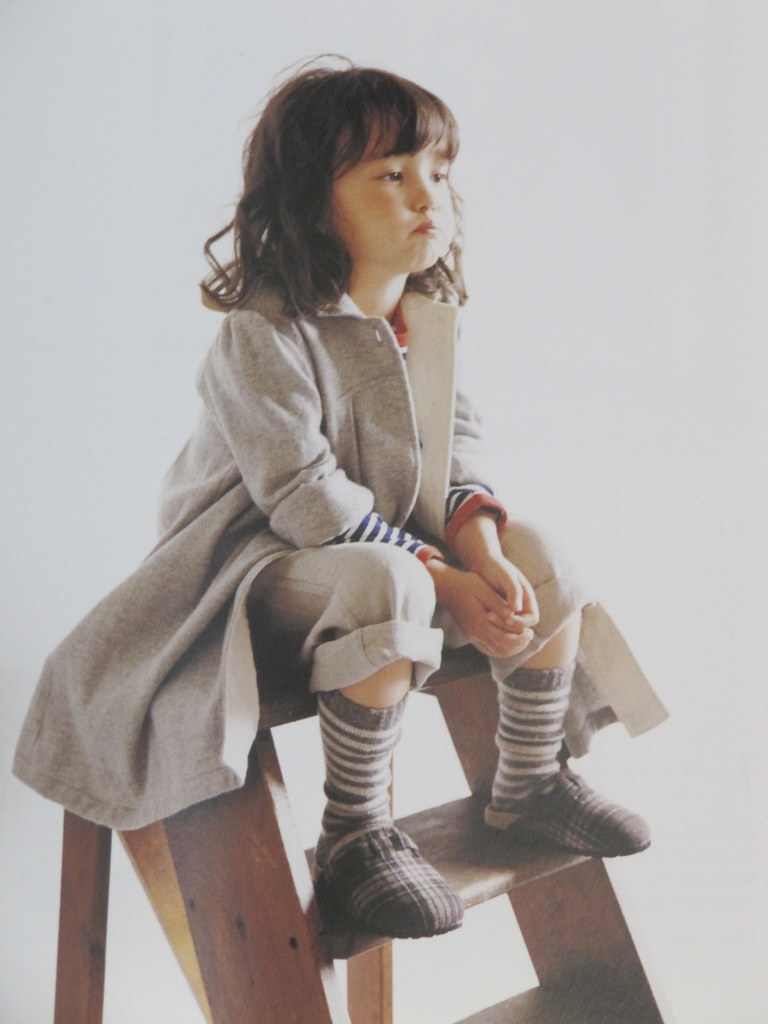
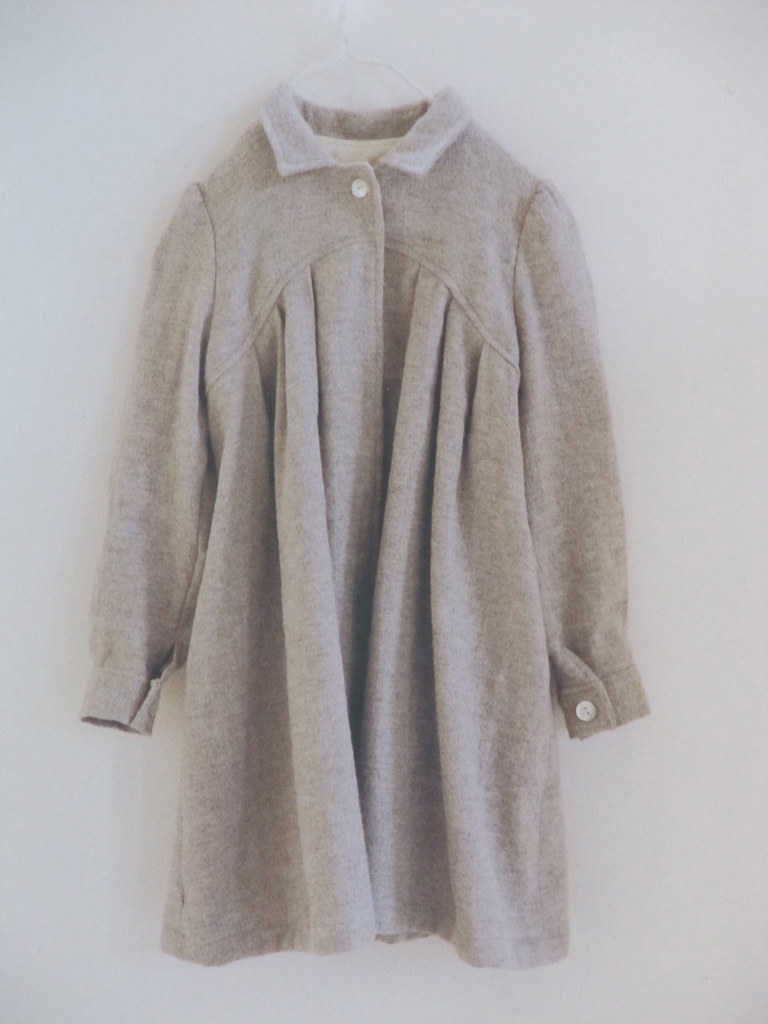
I found this coat 

IMG_4787IMG_4788


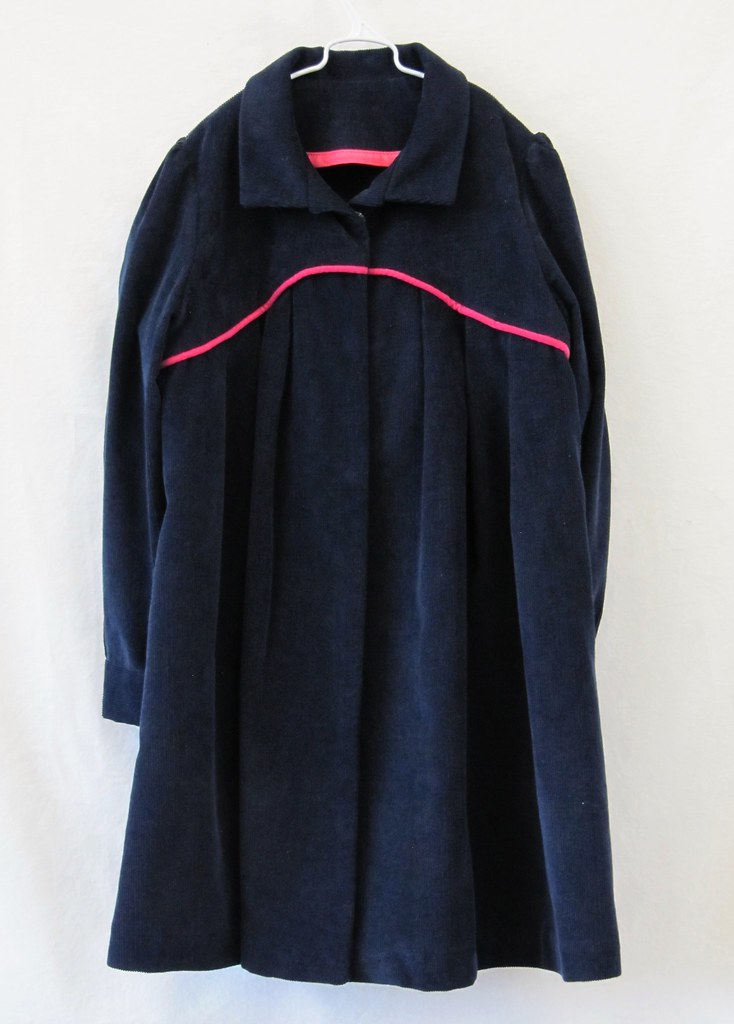
So, I made the 110cm size and added pink velvet piping between the yoke and front and back pieces

IMG_4790

pleated front panels


IMG_4773

pleated back panel

The facings were finished with matching pink bias binding. I was going to finish all of the seams with bias binding but I am lazy, and the seams were just too bulky and didn't look as tidy as the overlocker edge finish.


IMG_4768


And yet more pink....

IMG_4769

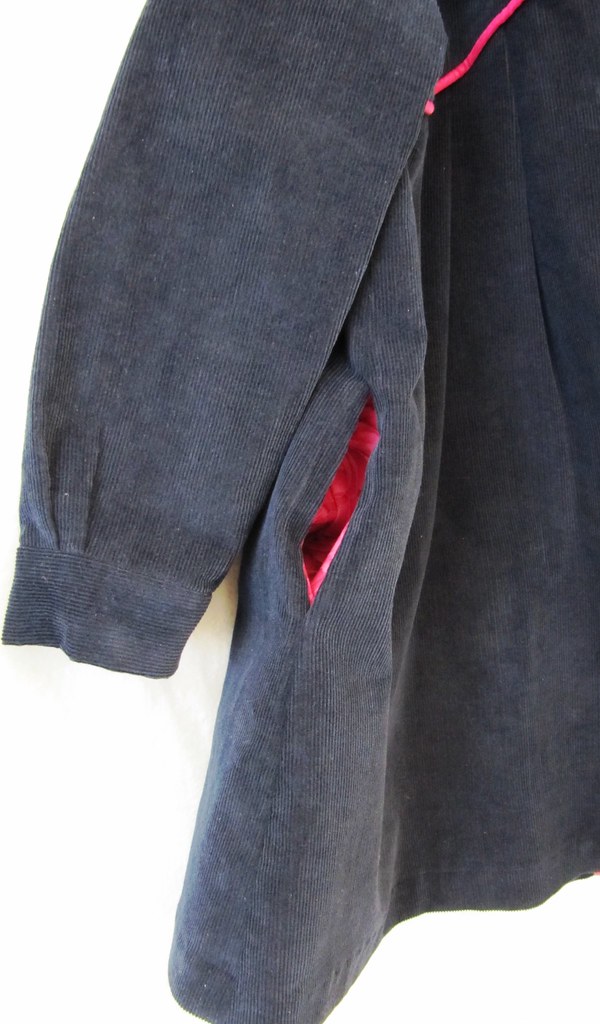
Side seam pocket.  The corduroy is a deep navy, not grey like this photo.

After I attached the collar and the facings I realised that I had placed the collar all the way around the neckline and beyond the centre front marking (although if these were indicated on the pattern when I traced off the pieces, I wouldn't know!).  Because of my boo boo I wasn't able to close the coat with a decorative button at the neckline because the collar pieces overlapped.   So I sewed 3 hidden snaps to the facings instead.  

IMG_4808
this photo is a better colour match


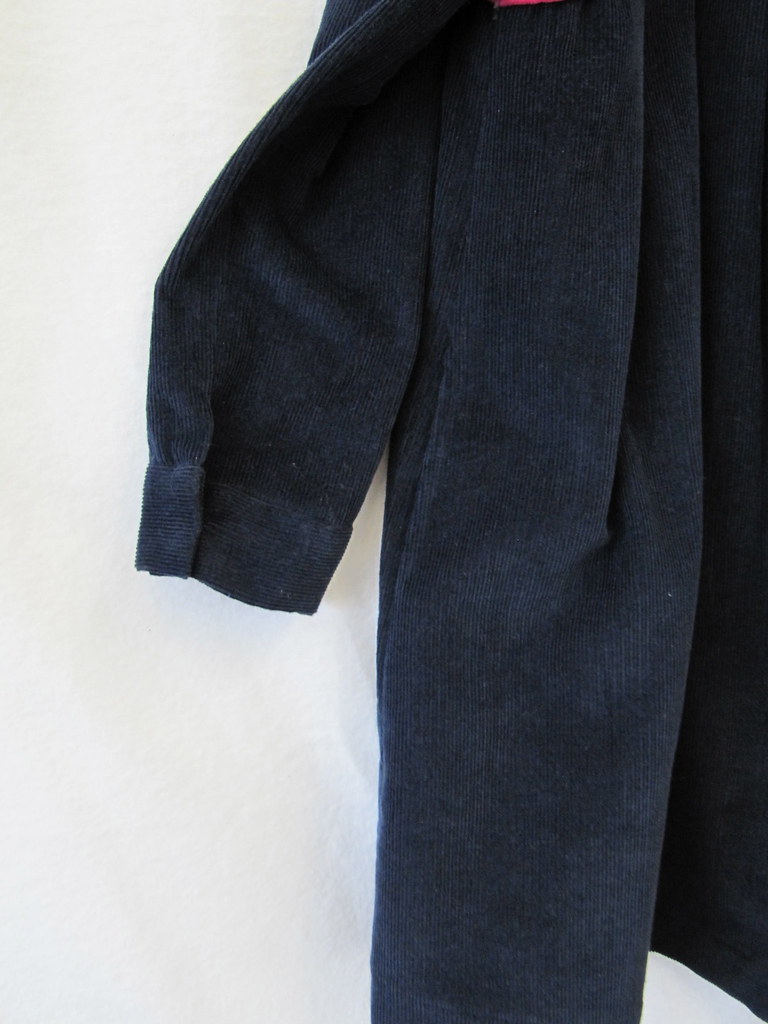
and 2 snaps were added to the cuffs

IMG_4771


IMG_4811


And when this coat was finished, I started working on a jacket for a friend's 10 year old daughter.  It is still a work in progress 

photo

"Paris" short wool jacket 
No. 30 Ottobre 6/2007


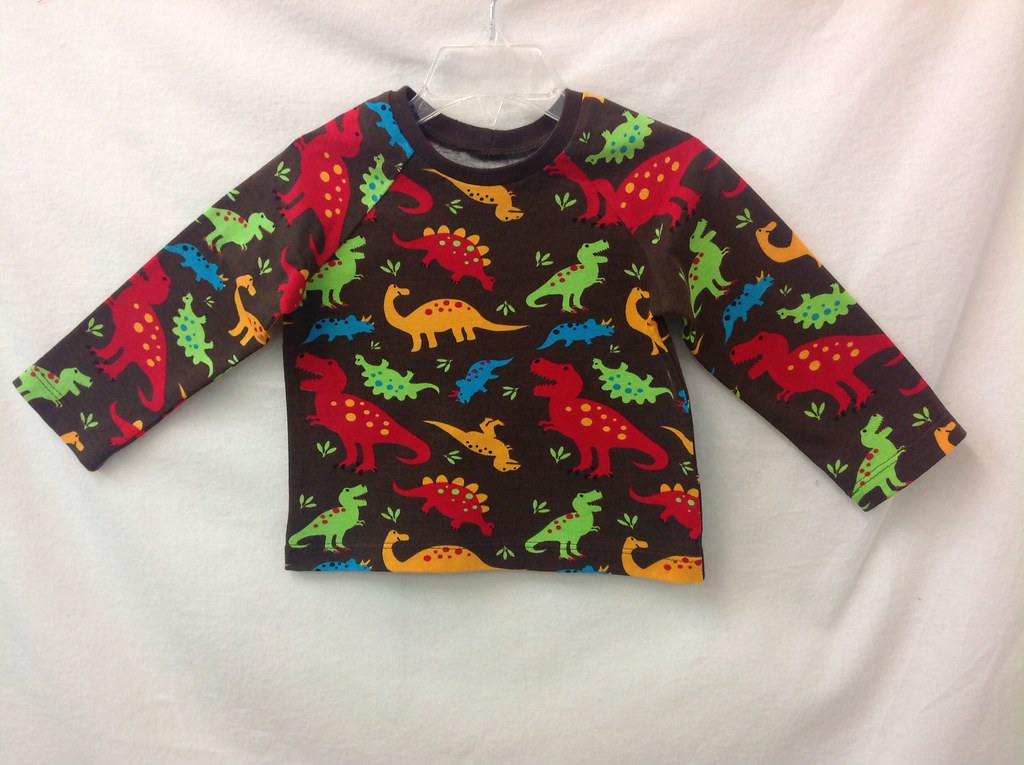
although here is another field trip t-shirt I recently completed

IMG_4754


Tuesday, 30 July 2013

UFO... finished*

I ordered the material (Funky feathered friends by angelaanderson) for this top from Spoonflower in November last year.  When it arrived I made an Oliver + S hopscotch top and cut out the Oliver + S sailboat top in a size 4.  I had every intention of sewing it up....

Eight months later I found this plastic bag


And about four hours after I unpacked the bag I had this!


I used some pearl snaps from the Snap Source instead of buttons and I overlapped the shoulder flaps the correct way this time.


Another finished object


(*I was going to call this "UFO to FO" but then had second thoughts....  One of my professors at university was strongly opposed to abbreviations that were not universally accepted or might have two or more meanings.  Prof barked loudly at anyone who wrote, for instance, that the child had a "TOF" - was that Tetralogy of Fallot or Tracheoesophageal Fistula?   So, remembering his sensible words I rewrote the title of this post and hope now there is no misunderstanding.)

Monday, 8 July 2013

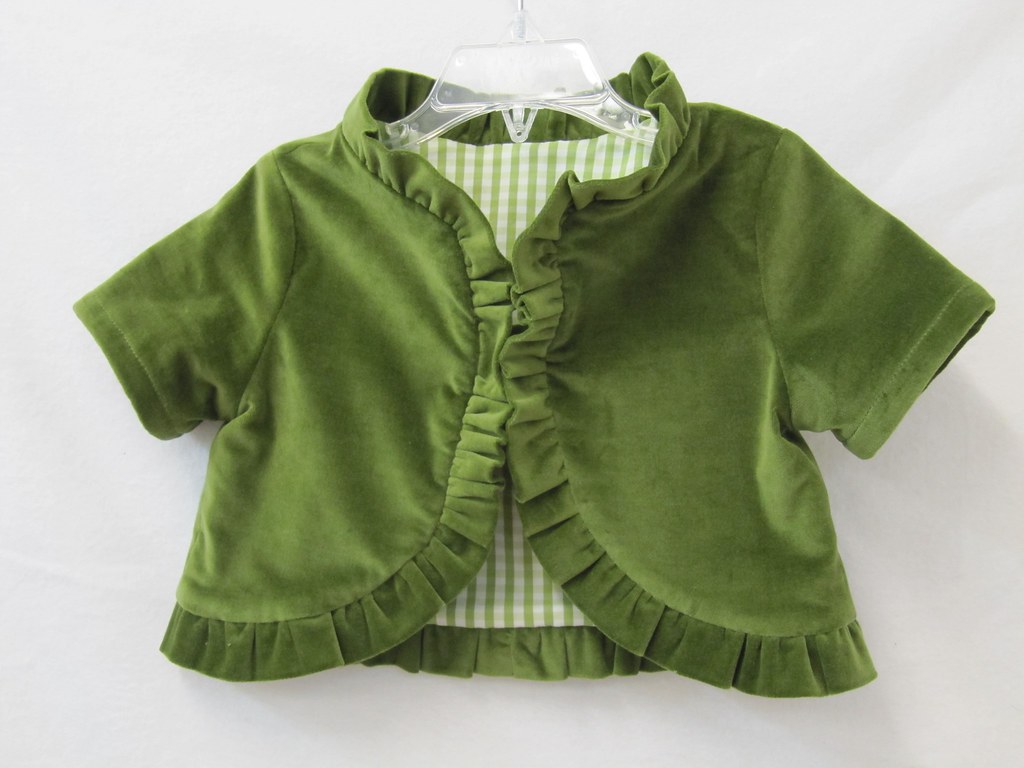
A little green bolero

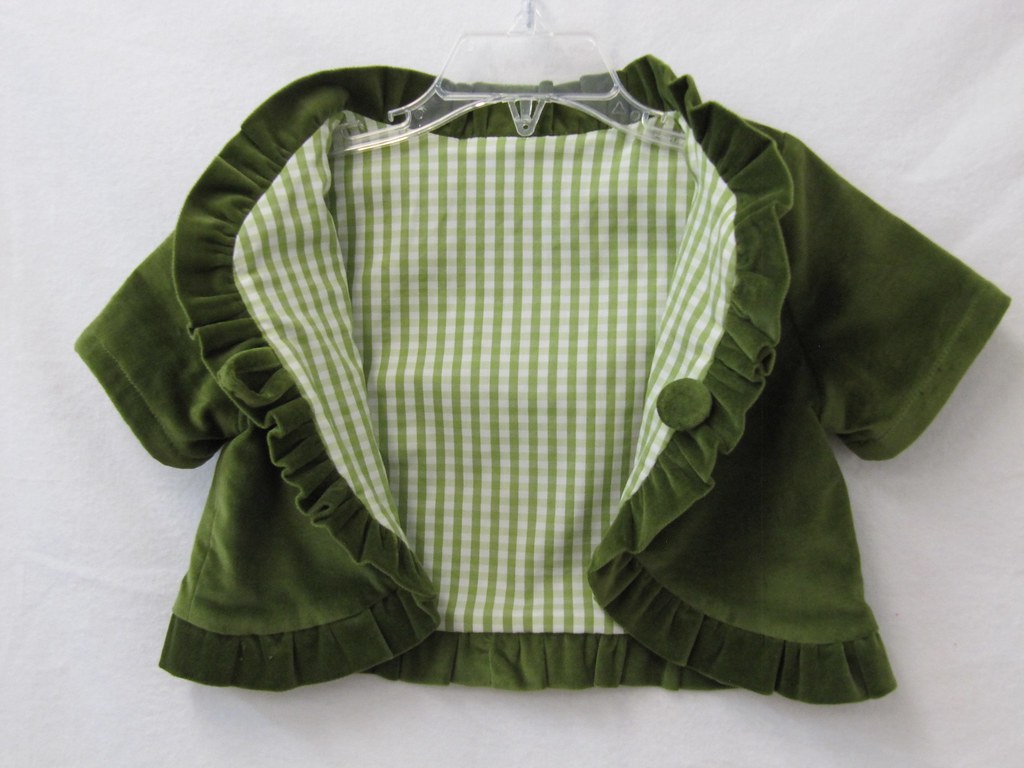
This is the Heidi and Finn Ruffle bolero 


Front

I used a cotton velveteen remnant for the main fabric (from Global Fabrics in Christchurch before the  shop disappeared as a result of the 2011 earthquakes) and a sateen gingham for the lining.


Opened bolero showing lining


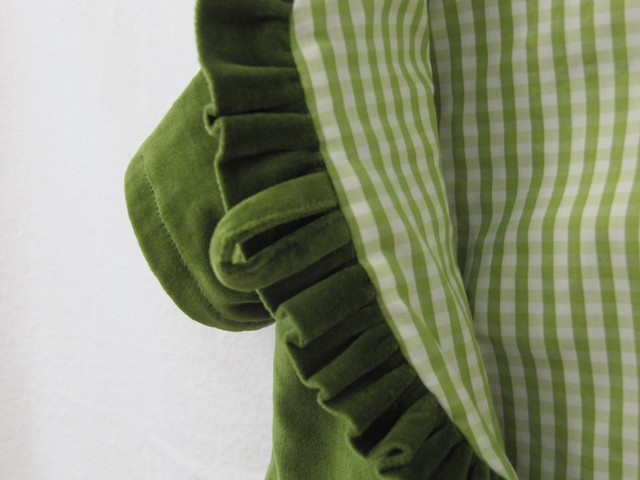
I thought I would use a gathering foot I purchased for my Bernina machine specifically to gather the metres of ruffle on this top and save myself time, but having parted with my $$ I discovered the special foot only works for single fabric layers!  Grrrr....

Instead of an elastic button loop I made a small fabric loop out of the velveteen

Button loop>
 

and used a covered button on the opposite side.


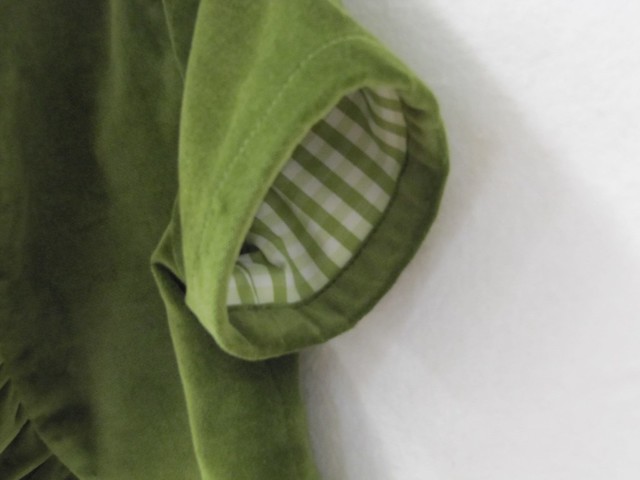
The sleeves were nicely finished with the lining enclosed by the sleeve hem


Sleeve


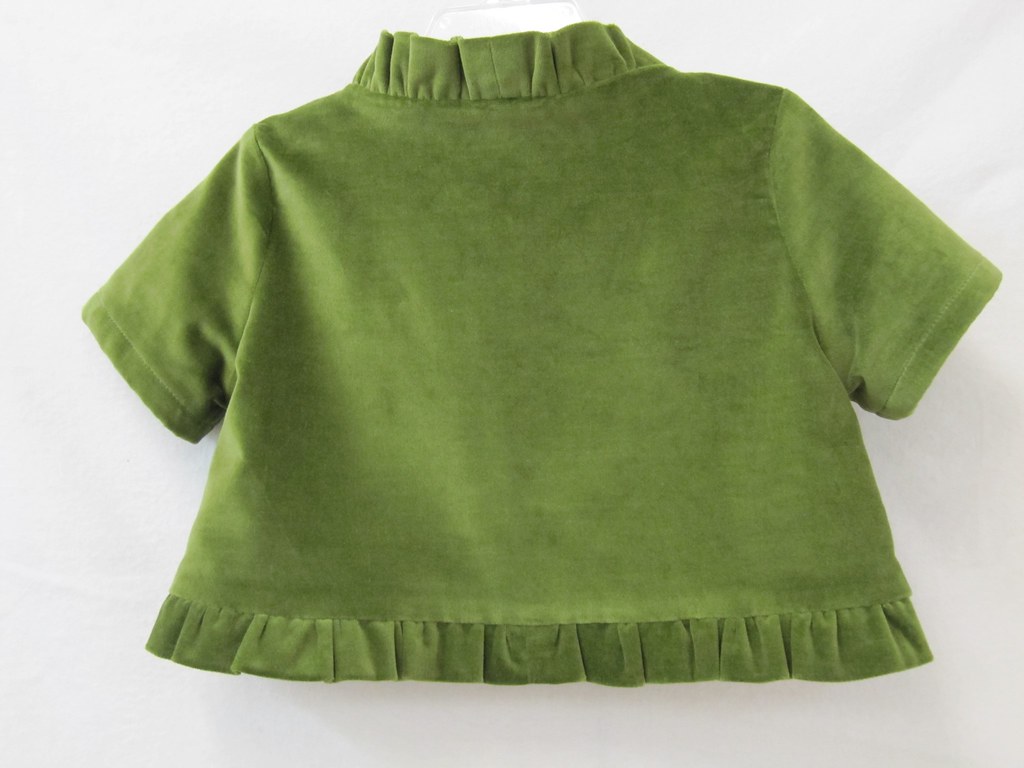
Overall, a very quick project (even by my standards!) and a great way to use up some left-overs


  Back

Thursday, 4 July 2013

Starry eyed

I made my first quilt in 2003.  I didn't think quilting was ever going to be my 'thing' until I found Jan Mullen's Slender Starz quilt pattern.  This wasn't a traditional quilt pattern, there weren't any rules that had to be followed, and I loved the bright colours.

I still have that first quilt.  It isn't perfect - the quilting is boring, the binding is too fat, the navy thread I used to piece the stars shows through on the lighter fabrics - but I am attached to it in much the same way as a child clutches their favourite toy with the missing eye,  the stuffing showing through, and food scraps embedded in the fur.

I've always wanted to make another quilt using this pattern and when one of the woman at work delivered a very premature baby I had found the perfect reason to get sewing.


There are 35 stars and a free form lattice border


Because of the way the stars are created, each is unique


And I tried to use a different colour in each of the strips in the lattice border.  Hooray for the stash!


And I quilted it in a random spiky star-like pattern in a variegated King Tut thread (Superior threads).


I was really pleased with how this quilt turned out and also how quick this was to create. I managed to quilt the top in just one day although I think I took just about as long to hand-sew the binding!

And it made my day today to hear that the recipient was putting the quilt to good use now that her baby is home.