Tuesday, 3 December 2013

My Spoonflower obsession continues

I bought some Spoonflower fat quarters to make a few t-shirts for Rosa. What I didn't count on was  that Rosa has grown since I first started sewing for her and a fat quarter is barely enough to make anything that will fit her now.  But I managed to get two t-shirts sewn.

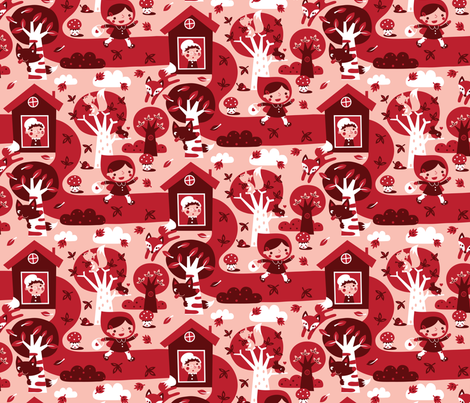
The first one is her Little Red Riding Hood t-shirt and apparently it is a hit at home.  The pattern is from Ottobre 3/2011 (number 19)


those hundred & thousand covered sweets look yummy!


Little red riding hood in autumn forest
Little red foxThe fabrics are both by bora and are the little red riding hood in autumn forest print - used for the front and back - and little red fox for the sleeves and neck binding.

The fox material is, well, foxy and I may have to order some more especially as fox prints are 'in' this year.

Unfortunately the photos of the t-shirt don't really show the colours very well. 


neck binding attached with coverstitch binder


This t-shirt was clearly a winner but I struggled with what to do with the other fabric because I didn't have quite enough fabric to make even a t-shirt.  

ice, ice baby


So I took a look in my wardrobe and discovered that a number of my own t-shirts had woven fabric elements (e.g. neck binding, sleeves etc).  So I borrowed that idea and this is what I came up with


back view

I found a georgette scrap in a box in the garage.  I think I made a top for my sister from this fabric about 1996 and obviously kept the remnant for an occasion such as this.  Luckily, there was just enough for what I wanted and it was the perfect colour.  I used the georgette to make the sleeves and made a rolled hem  and stitched shirring elastic about 1cm above the hem 


I also used a raw-edge strip of georgette for the neck edge.  What you can't see very clearly is that I made a little facing and sandwiched the georgette strip between it and the front fabric (probably seen best above although it is a bit rough)


This raw-edge neck binding is more obvious below


I used another Ottobre pattern for this t-shirt (number 29 in 3/2009).

I don't know whether this t-shirt is a flop or not but it has taught me several useful lessons:
  1. a fat quarter is rarely enough fabric to complete an item of clothing except for babies
  2. if I buy more fabric than I think I need, the remnant may come in handy even years later!
  3. sometimes (surprisingly) inspiration can be found in my own wardrobe 
  4. my hoarding is not so bad and should even be encouraged….. 


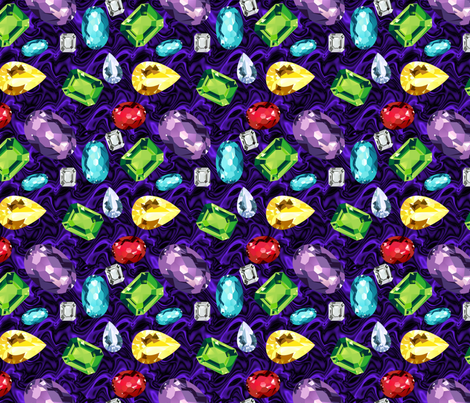
Of course I did manage to sneak a few more yards of fabric in with the parcel that these pieces arrived in but I haven't decided what to make with them yet.  Nevertheless, I believe that a girl (i.e. me) can never have too much Spoonflower fabric or diamonds

  
Gemstones

Monday, 2 December 2013

Mooove over penguin backpack

I have owned Little Things to Sew by Liesl Gibson for at least a year but the only pattern I had used until the weekend was the bucket hat pattern.

This was the first hat


I made two more

 boy's hat


 girl's hat


And then I got distracted by other things to sew….

When Lightning McStitch threw out the challenge to sew all of the patterns in the book I decided it was something I should join in on

Bartacks and Singletrack : want to go all the way with me?


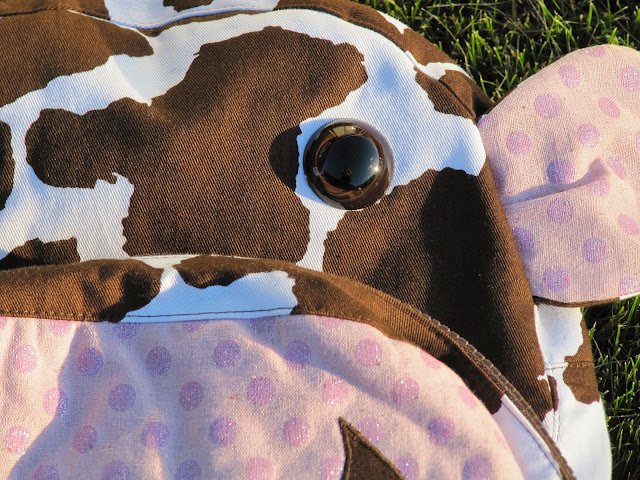
The penguin backpack was a pattern I definitely wanted to tackle early on in the challenge.  I wasn't sure about making a penguin and I noticed that many people had used the basic pattern and modified it.  I was undecided about what to do - although I knew I wanted to make something other than just a simple backpack - and then on Friday at Spotlight I found some brown and white drill fabric.  There, in the shop, I had a eureka moment: I would make a cow backpack!

The grass was the perfect setting for a cow backpack

I search google for some cow images, found this fantastic painting and used it to guide my pattern drafting.  I wanted the nose to be a separate pocket and sewed that first.


 I used a soft fusible vilene to add some body to both the pocket and the main part of the backpack


and I lined the pocket with a New Zealand-themed fabric


I  added some 30mm craft eyes to the bag,


made some shorter, padded and interfaced straps, and used purchased strap fasteners and 32mm polyester strapping as finishing touches.  I looked at some of the backpacks I had at home to figure out how to attach the strapping  to the backpack


I lined the body of the bag in the same New Zealand material and made a single, larger pocket that was the same width as the back panel and used fold-over elastic along its top edge


I used some Steam-A-Seam2 to stick the zipper panels on (although I also hand-stitched the lining in place just to be sure).  I was thankful for my collection of sewing gadgets because my mini iron was the perfect size for ironing the Steam-A-Seam in place without melting the zipper!


This is a great pattern and the possibilities are endless.   I enjoyed the challenge of making something different and translating my vision into this finished item.   I'm not ashamed to say that I love my cow backpack but I have no idea what to do with it now that it is finished…. but  I guess it won't be mooving on just yet….